Setting Up and Using Webposts in MOVEit Transfer
Technical top tips for MOVEit MFTTo get started with setting up a Webpost, first login to MOVEit Transfer and click on the folders link. Here you will see that there is a system folder named Webposts. (System folders are denoted by having a spanner on the folder icon. Navigate into the Webposts folder and create a new folder as you would anywhere else in the system.
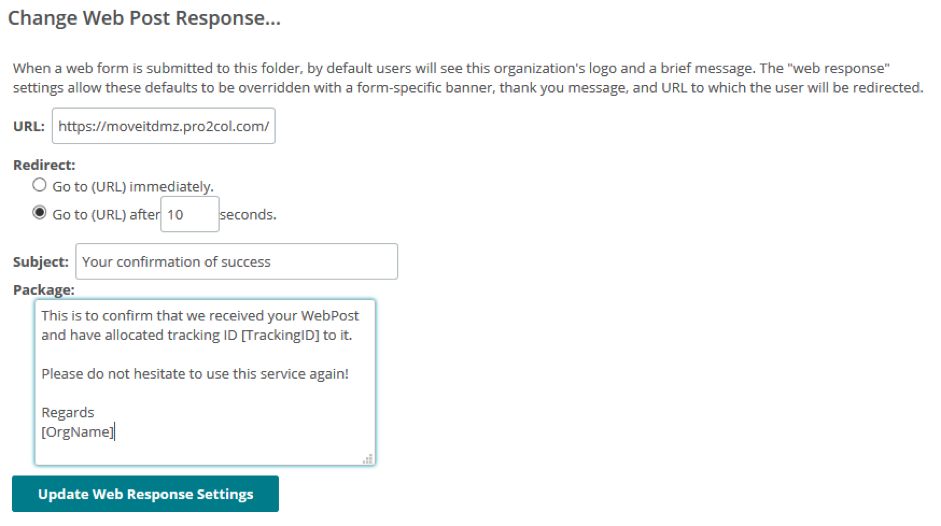
Once you have created the folder, open the settings screen to configure it accordingly. Most of the settings appear in exactly the same way as any other folder, but towards the end of the page you will find some differences. The first of these is the Webpost Response section. This overrides the ‘External URL’ setting in the general Settings screen.

Here you can specify the URL that you want the user to be redirected to after they have completed the Webpost. You can redirect immediately, or optionally provide a confirmation page for a few seconds (the subject/package fields) – you may use macros here if desired.


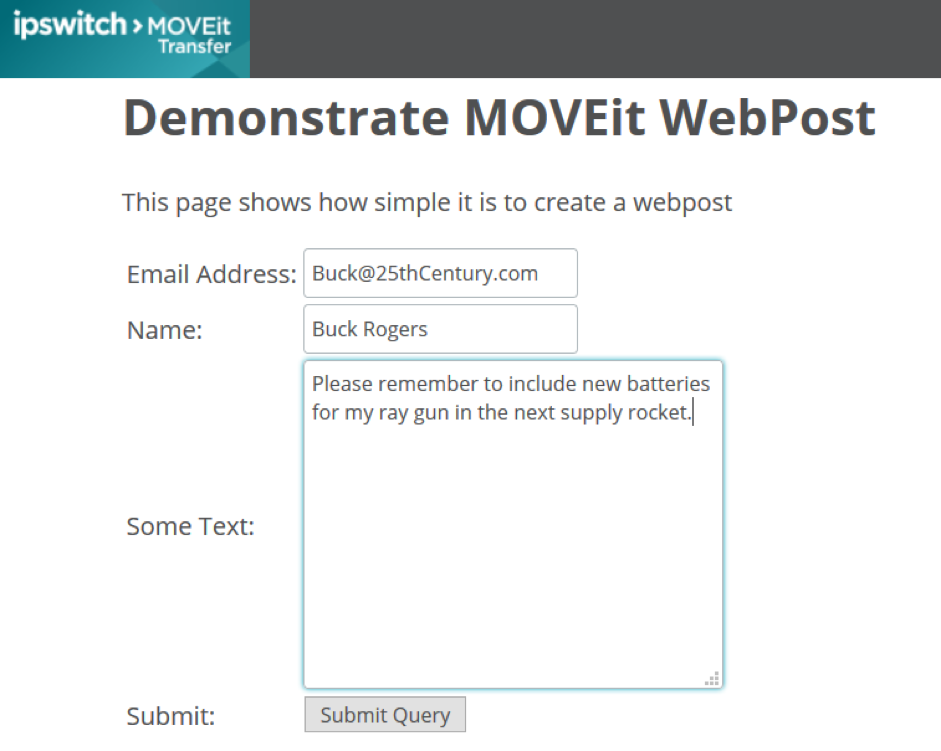
Now that the Webpost has been successfully submitted, the resultant file can be collected from MOVEit Transfer in either XML or csv format.

There is also a handy File Preview function:

Webposts are an integral part of MOVEit Transfer and do not require additional licencing.


Guides:

Need UK-based MOVEit support?
We are certified Progress MOVEit Titanium Partners and our team includes the UK’s leading MOVEit expert.
See our range of support and consultancy services to help you get the most out of your MOVEit solution.


