Sending Slack Messages from MOVEit Automation
Technical top tips for MOVEit MFTI’m often asked about how to link MOVEit Automation into an alerting system; Automation does of course come with email capability, but you don’t necessarily want to be using this as your best method of getting a heads-up when something goes wrong.
There are a number of different products available and in use around the world, so it’s not unreasonable to expect that Progress would leave it to customers to make the connection from Automation into an enterprise alerting system. While this article is not going to address the various options available to you, I will at least demonstrate how you can interact with one system – Slack.
What is Slack?
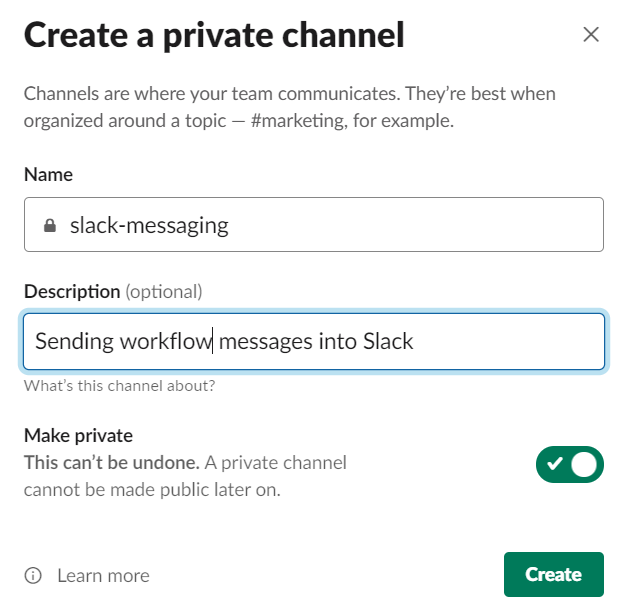
Slack is a communications platform offering chat and file sharing functionality. Many organisations use it to communicate both internally and externally; it’s especially useful for collaborating on projects with external teams. Better still, there is a free version offered which allows you to have up to 10,000 active messages (if you want to keep messages older than this, you’ll need to pay for it). Slack organises the various chats into channels for either direct communications with other people or group discussions. For our purposes though the most interesting feature is that it has an API that we can use to post messages directly from MOVEit Automation. Before we look at sending something into Slack, let’s create a private channel to send messages into. We can invite people into the channel later.
Slack Webhook
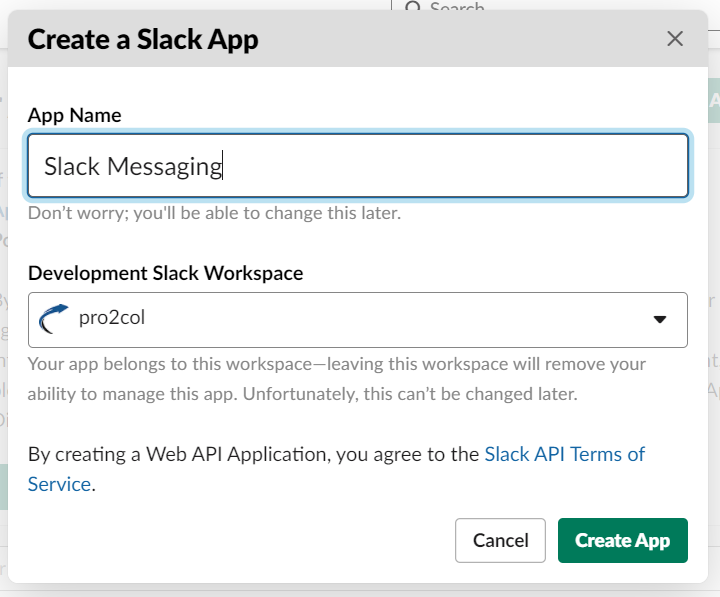
The API that Slack provides is in the form of a webhook. As you can see at https://api.slack.com/messaging/webhooks, a webhook in Slack terms is a URL that you can call to pass a message into a Slack channel. To get started on this process, the first thing that we’ll need to do is create a Slack App. This will give us the ability to make the connection from Automation. We do this by visiting https://api.slack.com/apps/new and completing the short form there.
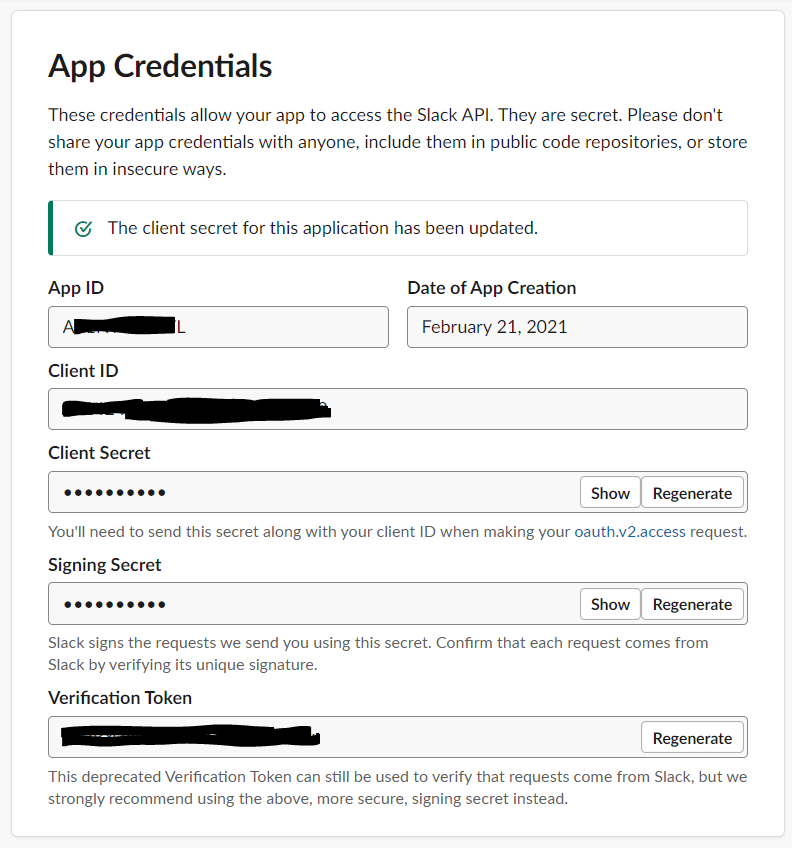
When you press the ‘Create App’ button, you will receive your credentials to use to make the connection; you don’t need to save this information.
You’ll need to expand the ‘Add features and functionality’ section, select ‘incoming webhooks’, and select ‘activate’. This will provide sample curl request showing how to pass a message into Slack:
curl -X POST -H ‘Content-type: application/json’ –data ‘{“text”:”Hello, World!”}’ YOUR_WEBHOOK_URL_HERE
It also tells you that no webhooks have been added yet – click the ‘Add new webhook’ button to change that. You’ll see a drop-down list of all of the available channels – select the channel we created at the start of the process. The curl request will now be updated to show the final webhook that we will use to send messages.
It also tells you that no webhooks have been added yet – click the ‘Add new webhook’ button to change that. You’ll see a drop-down list of all of the available channels – select the channel we created at the start of the process. The curl request will now be updated to show the final webhook that we will use to send messages:
Every webhook in unique. If you lose this webhook, you can always return to this page to retrieve it or even create a new webhook.
We can now turn our attention to MOVEit Automation.
Calling a Webhook from Automation
Calling the webhook is very straightforward; we will use this single Powershell command to do it:
Invoke-RestMethod -uri <URI> -Method Post -body <BODY> -ContentType <CONTENTTYPE>
Of course, we’ll set this up using some parameters and call the Powershell as a custom script.
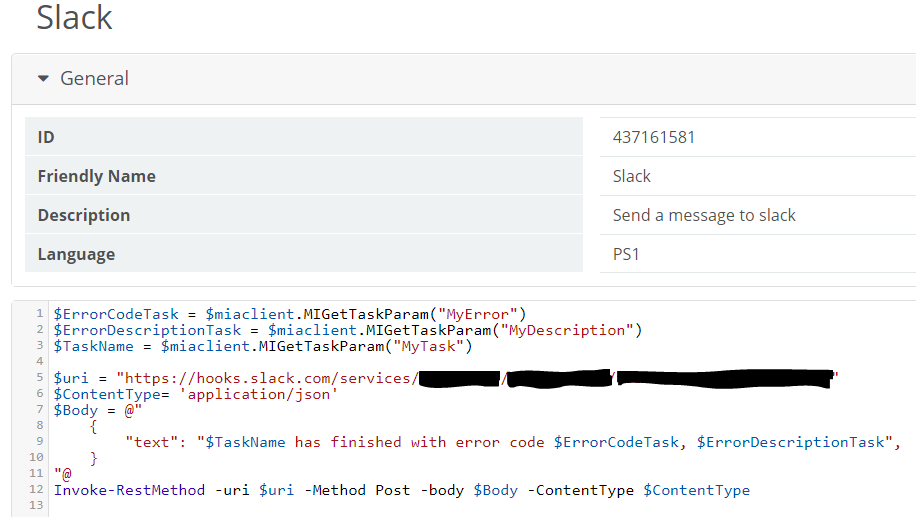
If your licence doesn’t allow you to create custom scripts, don’t worry – you can create the powershell as a script and call it using the ‘command line app’ built-in script to get the same results.
- Lines 1-3 are the parameters that we will pass to the script (change this if using command line app). In our case, we are simply passing the task name, error code and error description.
- Line 5 is the URL we just generated
- Line 6 describes how we will structure the message body (JSON format)
- Lines 7-11 is the message that we pass
- Line 12 is the actual call
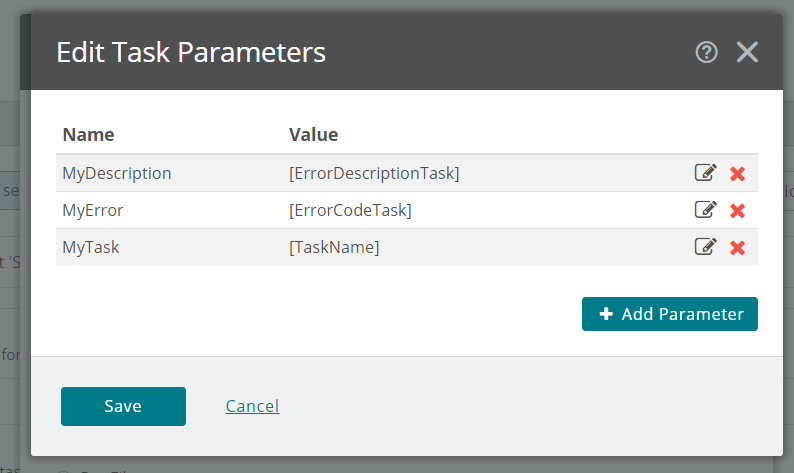
All that remains now is to call the script in a task. You could use this script as-is in an advanced task, but to use it in a traditional task you’ll need to set it as a process only task that gets called as a next action, passing whatever parameters you need (Traditional tasks can only execute scripts in the middle of a task, not at the end). Remember to set the parameters when you call the script:
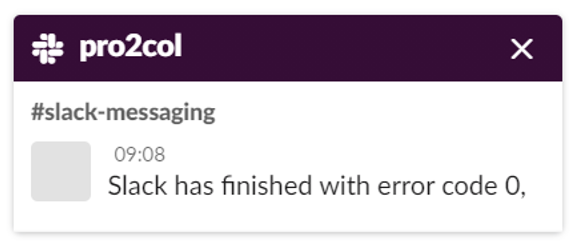
Whichever method you choose you should soon start seeing alerts arriving in Slack.
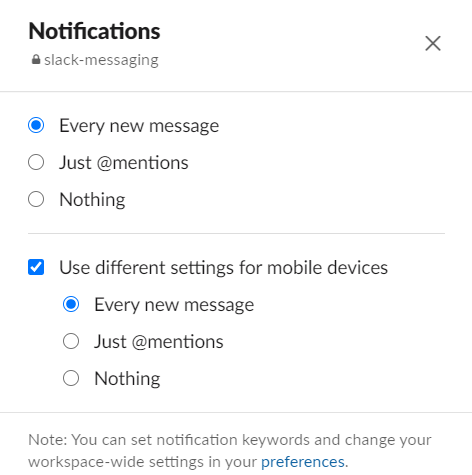
Once you are happy the process works OK, change the channel notification settings in Slack in order to get alerts directly to your mobile phone when there’s an issue.


Guides:

Need UK-based MOVEit support?
We are certified Progress MOVEit Titanium Partners and our team includes the UK’s leading MOVEit expert.
See our range of support and consultancy services to help you get the most out of your MOVEit solution.


